 |
| The end result- you can just make out the V-shaped transition. I'll take better pictures at a later date, to further illustrate the effect. |
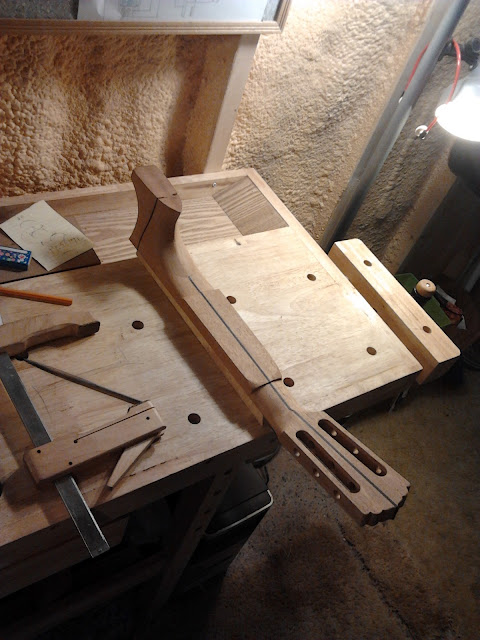
To remove the wood, I began with a coarse round file, to get the feel of the actions I would be taking. Upon becoming comfortable with the strokes and their shapes, I moved on to a bigger tool, with more bite- a rasp. I used the rasp to reduce the edges of the neck to curves on both sides. Before I started, I used a round object to make the outline of the V-shape. Each segment of the V was essentially an arc of a greater circle, with the peaks pointing towards each-other. I used the rasp for some time, and towards the end of the process, I transitioned into using files, which would take away less wood with each stroke. The desired thickness of the neck at the top was to be about 17mm, before accounting for the fingerboard. I used calipers to measure the section that I had reduced, putting the caliper tips on each side of the ebony center strip, as its edges were the highest and lowest points. I did some finishing touches to keep the height consistent, and finished the rounding of the back of the neck.
After a good while of work on the top of the neck, it was time to move to the base of it- to the heel block. There being a large amount of excess wood at this end, Ned did a quick chop for me on the band saw, which would make things much easier. This yielded a block of wood for me to take home, which I had ideas of making little gifts out of (it contained mahogany, and the ebony centre strip, as well). I took the neck in my hands and felt the weight that had been taken from it- it was great! One step closer to completion. I clamped the neck down to the bench, with a couple clamps, placing a block of wood (softer than mahogany) below it, against the surface to which the fingerboard was to be adhered. The reason for this was to keep that surface unmarred, and free of blemishes of any sort, to ensure an optimum bonding surface.
 I began by using a little template, whose shape resembled a boat, from above, to mark the outline of the heel block's flat surface, which would be attached to the back of the guitar. After using central lines to align and mark it, I got to work. In the previous session, I used another template to mark the side profile lines of the heel block, so I now had an idea of the shape of the heel block, from the top and sides. I began removing wood with a chisel- I found this process much to my liking. I chiseled away at both sides for what was probably one half-hour, or thereabouts. Once I had the shape pretty close to what it would be, I began using a rasp. For time's sake, I will summarize the process: I used the rasp and various files until the heel block was at the desired shape, which took much time, to make everything fluid and aesthetically appealing.
The heel block was the last step of the day. At this point, both the top and the bottom of the headstock were done. The curves at the top and bottom of the
 |
| The end of the chiseling process |
That about does it for this entry- I will throw in a few extra pictures below. Until next time!
 |
| The complete heel block. Oh! If I'm not mistaken, there is still a bit of wood to be taken off of the back of it... but I may very well be mistaken- I can't quite remember. |
Ah, yes- I almost forgot. I took a picture of the back of a guitar that Ned just started on, today. The guitar will be a flamenco, which he is building for one of his clients. The top is Lutz spruce, and the back is a variety of Maple (I'm not sure which). But the reason I'm mentioning this will be evident, once you see... the grain patterns are beautiful!
 |
| There will be a centre strip, containing strips of ebony and maple. |

No comments:
Post a Comment